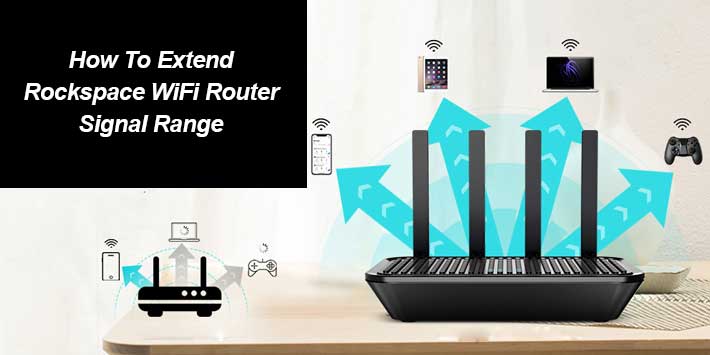
Do you want to increase the range of router WiFi signals and enjoy the fast speed of the internet at every corner of the office and house? By doing the Rockspace extender setup you will easily extend the range of Router WiFi signals. Read this post very attentively to learn the full information about the Rockspace WiFi range extender device.
Note: Before starting the configuration process of the Rockspace WiFi range extender you will need to do the Rockspace extender login process.
How To Visit Into Rockspace Extender Login Page
- As a beginning, you will need to connect your laptop or computer to the Rockspace extender network.
- After that, open chrome on a WiFi-containing gadget and write re.rockspace.local web address in the location field.
- Further, you will need to write all the relevant details which are shown on the login page.
- Finally, the Rockspace WiFi range extender login process is completely done.
Basic Requirements To Do Rockspace Extender Configuration
- Must know the default IP and web address for doing the Rockspace extender setup.
- The subscription to the internet plan must be up to date.
- In that area, where your gadget is already configured, then verify that the power outlet is in good working order.
- Need an ethernet cable. (Make sure to use only the cables which are the best quality)
Without these common needs, you can’t do the Rockspace WiFi range extender configuration process.
Connect Rockspace Extender To Router By WPS Button
- To start with, place your Rockspace extender power plug into an electrical socket.
- Make sure the extender and router must be located near each other.
- Now, press the WiFi-protected system button of the Rockspace WiFi range extender and router.
- Next, a solid blue LED starts flashing on both devices.
- Hence, it means your extender is successfully linked with the host router.
By Ethernet Cable: Pair Extender To Host Router
- First, grab one long network cable and make sure the cable must be of high quality.
- Now, join one end of the cable to the extender and the other end of the cable to the router ethernet port.
- Next, place the power plug of both gadgets into an electrical power socket.
- Further, wait for a while to see the stable green LED on both the extender and router gadget.
- As a result, it means the extender and router successfully connected with each other.
By Web UI: Attach Rockspace Extender To Main Router
- In starting, connect your computer to the Rockspace extender network.
- After that, launch a web browser and type re.rockspace.local in the uniform resource locator bar.
- Then write all the relevant login information which is shown on the display page.
- After that, tap on the new extender setup page and follow all the instructions step by step.
- Make sure, to observe all the directions without jumping to any point.
Laterally, do the Rockspace extender setup process if you are still facing slow speed of the internet then follow the lower resolving tips to fix issues.
Improve Software Of Rockspace WiFi Range Extender
Due to the outdated software of Rockspace extender, you can still face slow speed of the internet. So, we suggest you upgrade the software of the extender from time to time. If you don’t know how to upgrade firmware then read and follow the lower steps one by one.
- First, go to the settings page of the Rockspace WiFi range extender.
- Now, look for an administration option and then find the software upgrade option.
- Further, wait for a minute to install the latest firmware file on your laptop or on your computer.
- Hence, with the help of this tip, the slow speed of the internet issue is solved.
With the help of this page or article, you will be able to do the Rockspace extender setup process. If you get the answer to your question, then share this page with other users.

